Isaac Lab: Training Robot Policy with Reinforcement Learning#
This tutorial walks you through running a reinforcement learning training job on a single node with OSMO, using Isaac Lab , NVIDIA’s framework for robot learning. You will learn the basics of launching a training script, monitoring training progress using TensorBoard, and reviewing the checkpoints and videos of the trained policy.
The complete workflow example is available here .
Prerequisites#
For this tutorial, make sure:
The compute cluster has a GPU that satisfies Isaac Sim’s system requirements (preferably an RTX 5080 or better)
You have an OSMO data credential
See also
You can check out the data credentials section for more information.
Building the Workflow#
You will first create a workflow spec file that specifies the training script to run.
We will reference the commands in the Isaac Lab reinforcement learning example for Stable Baselines 3 . The Python modules are already installed in the Isaac Lab image, so we can skip that installation command, and use the training command directly.
workflow:
  name: train-robot-policy
  tasks:
  - name: train
    command: ["bash"]
    args: ["/tmp/entry.sh"]
    image: nvcr.io/nvidia/isaac-lab:2.2.0
    environment: # (1)
      ACCEPT_EULA: Y
      NO_NUCLEUS: Y
      OMNI_KIT_ALLOW_ROOT: '1'
      OMNI_SERVER: isaac-dev.ov.nvidia.com
    files:
    - contents: |2-
        set -euxo pipefail

        ./isaaclab.sh -p scripts/reinforcement_learning/sb3/train.py \
          --task Isaac-Velocity-Flat-Unitree-A1-v0 --headless

        apt update && apt install -y ffmpeg  # (2)
        ./isaaclab.sh -p scripts/reinforcement_learning/sb3/play.py \
          --task Isaac-Velocity-Flat-Unitree-A1-v0 --headless --video --video_length 200  # (3)

        mv logs/ {{output}}/  # (4)

      path: /tmp/entry.sh
    outputs:
    - dataset:
        name: robot-policy-dataset
These are the environment variables required for Isaac Lab to run.
This installation is required for the play script below.
After training the policy, you can play and evaluate the trained policy in simulation. Since the machine is not attached to a display, we will pick the headless version of the play command, by picking the command that plays the agent and records it in video.
Isaac Lab directly writes the data to the logs/ directory. Moving the model checkpoints and videos to the output directory.
Monitoring Training Progress with TensorBoard#
If you want to use TensorBoard for monitoring your training progress, you can launch it through a background process (using &) before launching the training script,
and kill it after the training is done.
tasks:
- name: train
  files:
  - path: /tmp/entry.sh
    contents: |
      # ...

      # Launch TensorBoard using the Isaac Lab native command
      ./isaaclab.sh -p -m tensorboard.main --logdir=logs &

      # Launch training

      # Kill TensorBoard when training is done
      pkill -f "python3 -m tensorboard.main --logdir=logs" || true
Important
If you launch TensorBoard in the same task as the training script, you need to stop it at the end so that the workflow can finish.
The complete workflow spec file is available as train_policy.yaml .
Running the Workflow#
After you submit your workflow and the task is running, you can run the port-forward command to forward the TensorBoard to your local port:
$ osmo workflow port-forward <workflow ID> train --port 6006
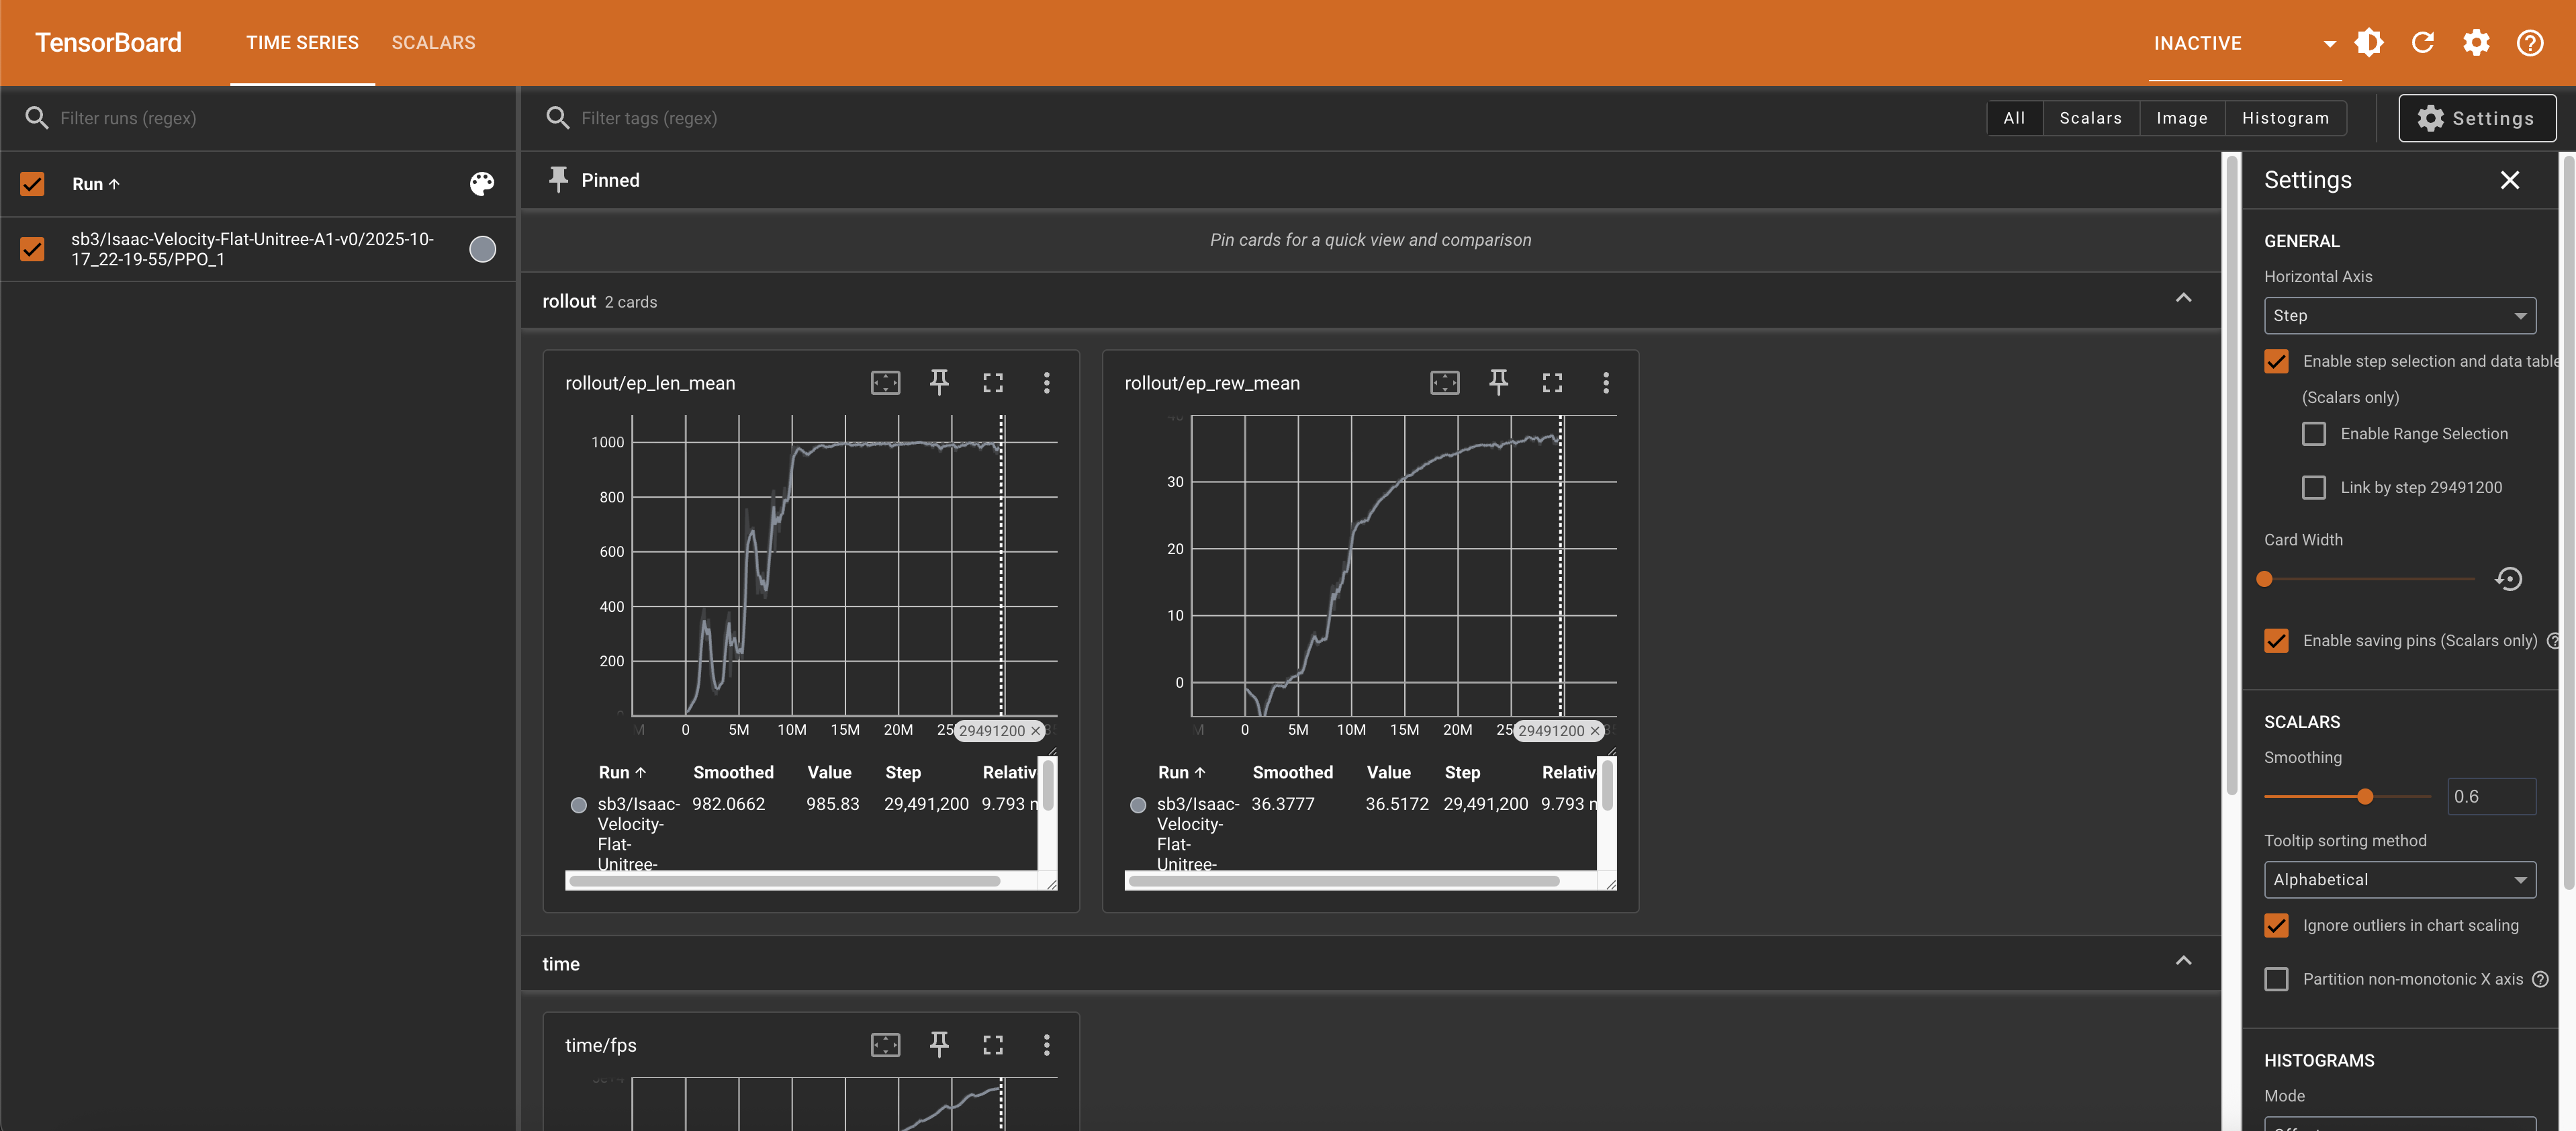
Open your browser and visit http://localhost:6006 to see the TensorBoard:
Reviewing Training Results#
The model checkpoints and videos are saved in the robot-policy-dataset dataset. You can get the checkpoints and videos by downloading the dataset:
osmo dataset download robot-policy-dataset ~/
You will be able to see the checkpoints in the folder structure below, named model_<steps>_steps.zip.
robot-policy-dataset/
└── logs/
    └── sb3/
        └── Isaac-Velocity-Flat-Unitree-A1-v0/
            └── <date>/
                ├── command.txt
                ├── model.zip
                ├── model_4096000_steps.zip
                ├── model_8192000_steps.zip
                ├── ...
                ├── model_45056000_steps.zip
                ├── model_49152000_steps.zip
                ├── model_vecnormalize.pkl
                ├── params/
                └── videos/
                    └── play/
                        └── rl-video-step-0.mp4
In the videos/play/ sub-directory, you can view the video of the trained policy running on robots in simulation:

Running Other Reinforcement Learning Examples#
Isaac Lab supports other reinforcement learning libraries such as RL Games, RSL-RL, and SKRL too, and you can view all the examples in the Isaac Lab documentation .
In this tutorial we were using Stable Baselines 3 to train the policy, but you can modify the entry script to use other libraries as well.
For example, you can pick the RSL-RL training script , which will train a Franka arm robot to reach target locations. You can modify the entry script to call the new training script:
files:
- contents: |2-

    set -euxo pipefail

    ./isaaclab.sh -p scripts/reinforcement_learning/rsl_rl/train.py \
      --task Isaac-Reach-Franka-v0 --headless  # (1)

    apt update && apt install -y ffmpeg
    ./isaaclab.sh -p scripts/reinforcement_learning/rsl_rl/play.py \ # (2)
      --task Isaac-Reach-Franka-v0 --headless --video --video_length 200

    mv logs/ {{output}}/

  path: /tmp/entry.sh
The training script command is updated here to use RSL-RL.
The play script command is also updated here.
After the workflow completes, you can access the results through the dataset as well! This is the video of the Franka arm robot reaching the target locations.
